

Fix Leaky Taps with Ease: Your Step-by-Step Guide to Replacing a Tap Washer
Struggling with a dripping tap? The culprit is often a worn tap washer. Replacing a tap washer is a simple DIY fix to stop leaks and save on water bills. This article walks you through identifying a faulty tap washer and provides a step-by-step guide on how to replace it, complete with essential tools and handy tips.
Key Takeaways
-
Rubber washers in taps prevent water leaks, but when they wear out, replacing them can save water and reduce bills.
-
To change a tap washer, gather essentials like screwdrivers, wrenches, and pliers, shut off the water supply, and replace the washer following specific steps.
-
If tap washer replacement doesn’t fix the leak, or for complex issues, call a professional plumber; consider upgrading to ceramic disc taps for longer-term ease and savings.
Understanding Tap Washers and Their Role in Your Plumbing

When it comes to plumbing, tap washers are the unsung heroes. They form a watertight seal in your taps, preventing water leakage and ensuring smooth operation. Every time you turn off your tap, it’s the washer that stops the water from flowing through. But like any hero, washers can get worn out. When this happens, you’ll find your leaking taps dripping, wasting precious water, and adding unnecessary dollars to your water bill.
Maintaining these tiny components on a regular basis is essential for your home’s plumbing health, and will help prevent leaky taps and potential water damage within your property.
What is a Tap Washer?
You might be wondering, what exactly is a tap washer? Well, it’s a small but crucial component that creates a watertight seal to prevent water from escaping when your tap is turned off. You can find this tiny hero located underneath the valve inside the tap. Traditional tapware uses rubber washers. However, more modern tapware now includes ceramic disc cartridges, which offer more precise control than rubber washers. A worn tap washer can cause leaks and require replacement.
These ceramic disc cartridges use two ceramic discs that strategically align to enable or stop water flow. It’s quite a smart piece of engineering!
Signs You Need to Change a Tap Washer
But how do you know when your tap washer needs a hero’s replacement? Well, there are a few signs to look out for. A consistent drip from a tap or a tap that fails to completely stop water flow is a common sign that your washer is damaged and no longer forming a watertight seal. If your tap is hard to turn on or off or becomes increasingly stiff to operate, it could indicate an old, worn washer in need of replacement.
Noisy taps producing a screeching sound or water hammer may signal eroded parts, including the tap washer. Keep in mind that tap washers, like any component, deteriorate over time and will inevitably need replacement as part of regular maintenance.
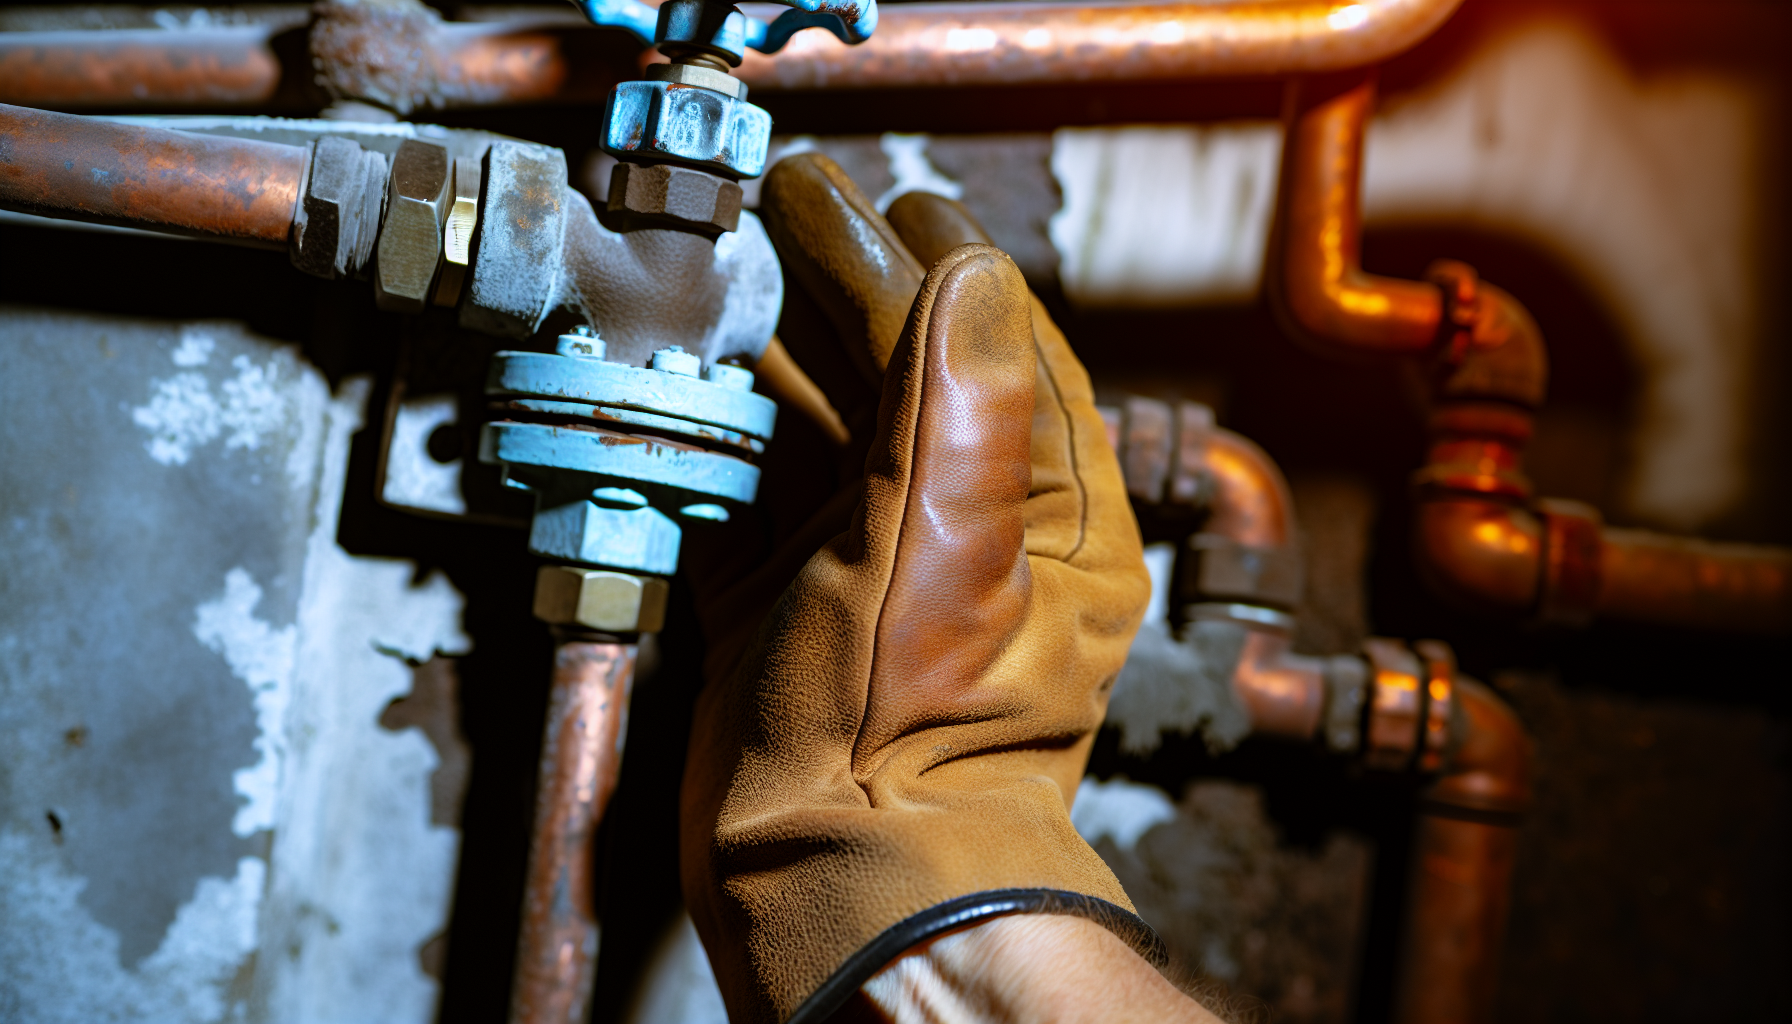
Assembling Your Toolkit: Essentials for Changing a Tap Washer
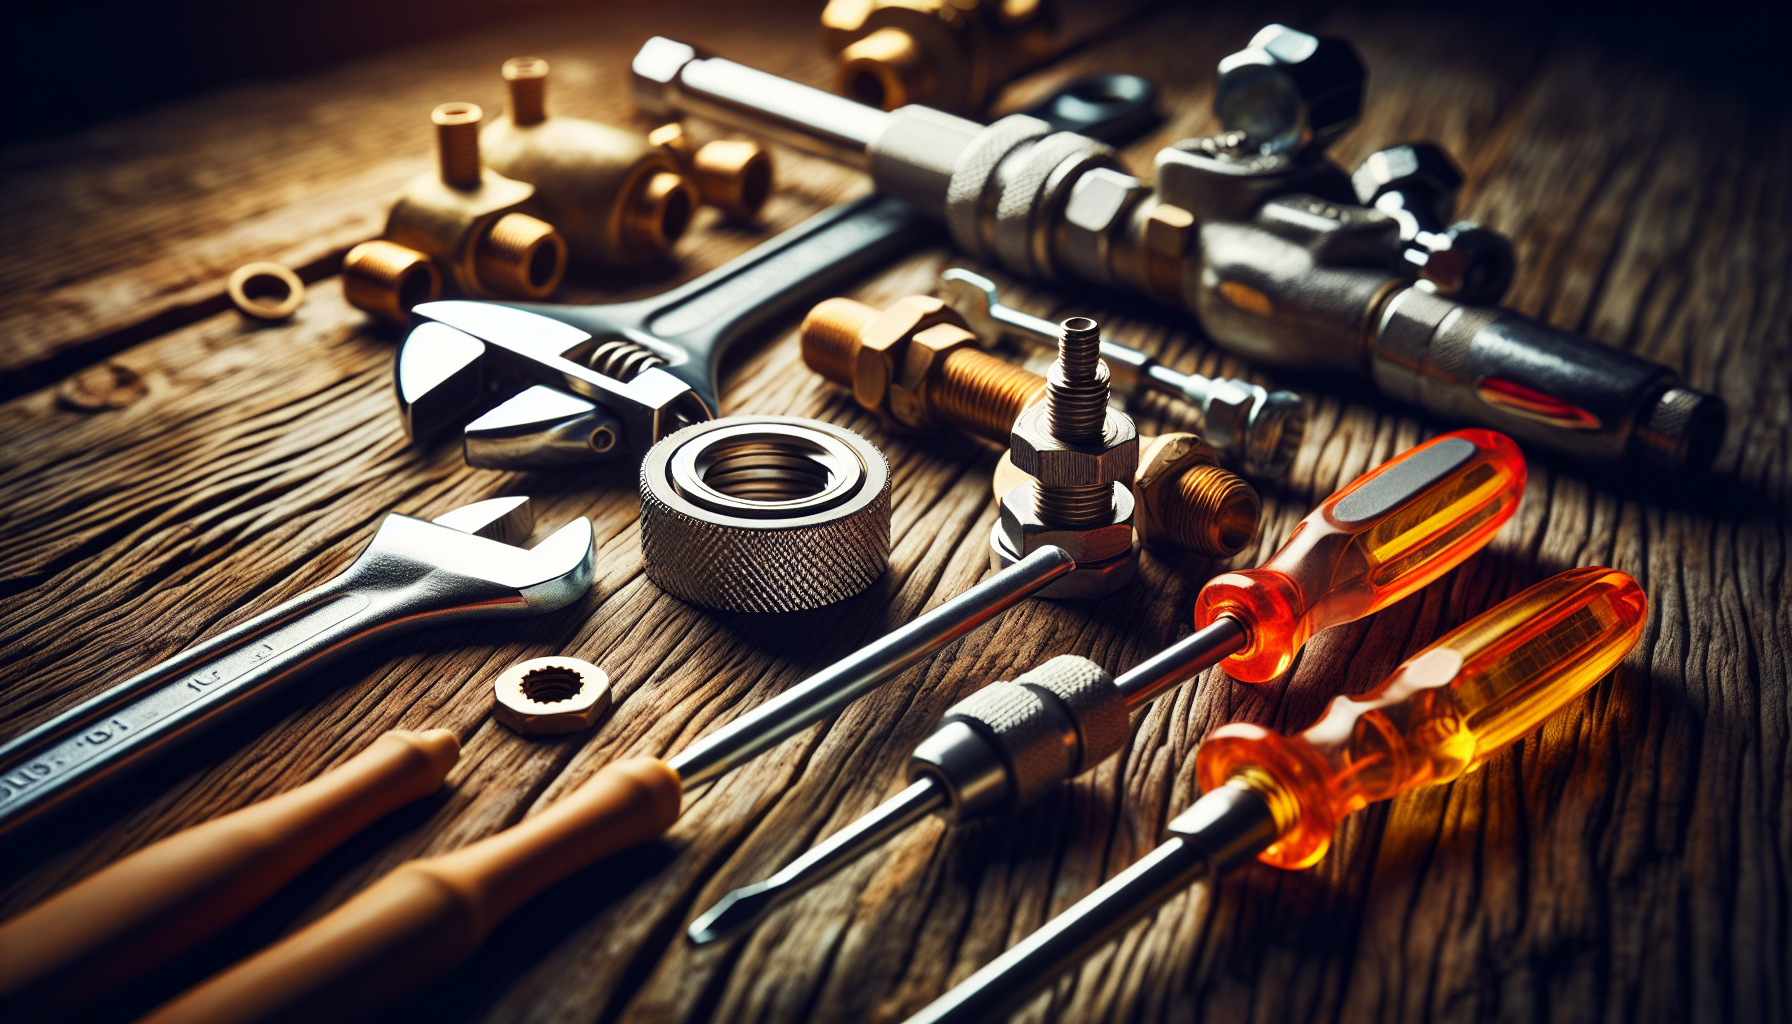
Before embarking on your project to change the tap washer, ensure you have all the necessary tools readily available. The basic tools needed include:
-
A flathead screwdriver, used to remove screws
-
A crescent wrench, used for turning nuts and bolts
-
Adjustable pliers, used for gripping
-
A replacement rubber washer, used to replace the old one.
Tools You'll Need
Let’s get a little more familiar with these tools. The flathead screwdriver is your go-to tool for removing the tap button or handle, especially when it has a round or inset design. To unscrew the tap bonnet and secure it again during reassembly, you’ll need a handy spanner or a shifter.
Needle nose pliers are your best friend for reaching into tight spaces to grasp and manipulate small parts. And the crescent wrench? You’ll use this to loosen the hexagonal packing nut after the tap handle is removed, which allows you to access the washer. If you’re dealing with stiff valves or nuts, applying penetrating oil can facilitate easier removal.
Pro tip: take the old tap washer to a hardware store to ensure you get the right size for your new tap washer replacement.
Preparing the Work Area
With our tools at the ready, it’s time to prepare the work area. Place an old towel or cloth in the sink to prevent damage to the surface if you accidentally drop any tools or tap components.
Before you start, make sure all the water supply to the tap is completely shut off to avoid any water-related accidents or spills. And remember, be gentle when removing the tap components to protect your sink from potential damage during the process.
The Step-by-Step Process: Changing Your Tap Washer
Now that we’re prepared, let’s tackle the main task - changing your tap washer. Don’t worry, we’ll guide you through it step by step.
Before you start, make sure to follow these steps:
-
Turn off the water supply at the stop valve or isolation valve.
-
Turn on the tap to release any residual water from the pipes.
-
Remove and replace the tap components to access the worn washer and replace it with a new one.
-
Reassemble the tap, making sure each component is secured in its correct place.
Isolating the Water Supply
The first step is to isolate the water supply. Prior to starting the tap washer replacement, ensure you turn off the water supply at the mains. You can usually find the stop valve near the water meter or the isolation valve underneath the basin or bath.
After shutting off the water at the mains, open the tap to drain any remaining water from the pipes to ensure a dry work area. Trust us, you don’t want a water spill in the middle of your tap washer replacement!
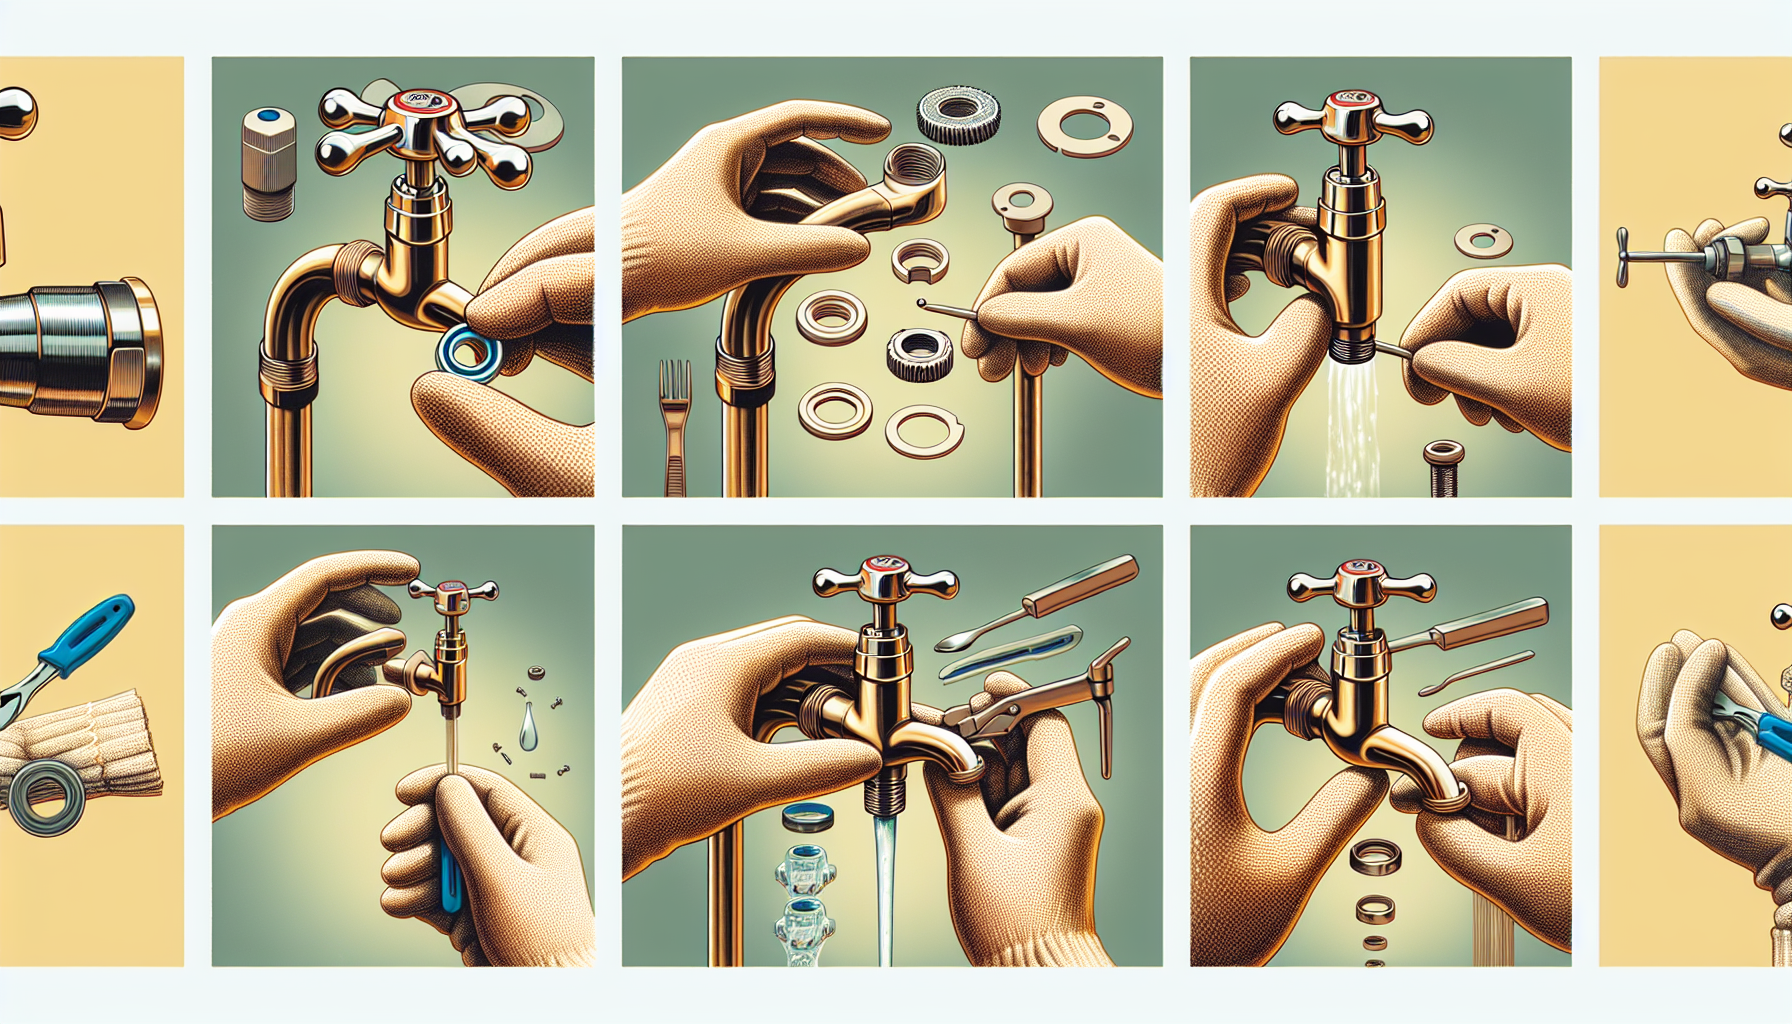
Accessing the Washer
Once your water supply is safely turned off, it’s time to access the tap washer. This involves a bit of disassembly. Start by removing the tap handle. Pry the cover off the faucet tap with a flat-head screwdriver; these covers usually have H (hot) and C (cold) indicators and may be plastic or metal.
Next, grab your pliers and remove the tap skirt, which might be secured with a sealant. Finally, unscrew the tap bonnet using a spanner to reveal the jumper valve and washer underneath.
Removing and Replacing the Washer
Now that we’ve accessed the washer, it’s time to replace it. To remove the tap washer, unscrew the nut or screw at the bottom of the tap stem using a screwdriver or adjustable pliers, and then use needle-nose pliers to pluck off the old rubber washer.
After removing the old washer, follow these steps:
-
Clean the interior of the tap to eliminate any limescale or debris.
-
Scrub the tap stem surface with steel wool.
-
Choose the right new washer that matches the shape and size of the old washer for a proper fit and seal.
Then, install the new washer by following these steps:
-
Slide the washer into place on the tap stem.
-
Secure the washer with the screw or nut.
-
Replace O-rings and body washers if necessary.
-
Apply plumber's tape or silicone grease on threads.
-
Avoid over-tightening to prevent damaging the washer.
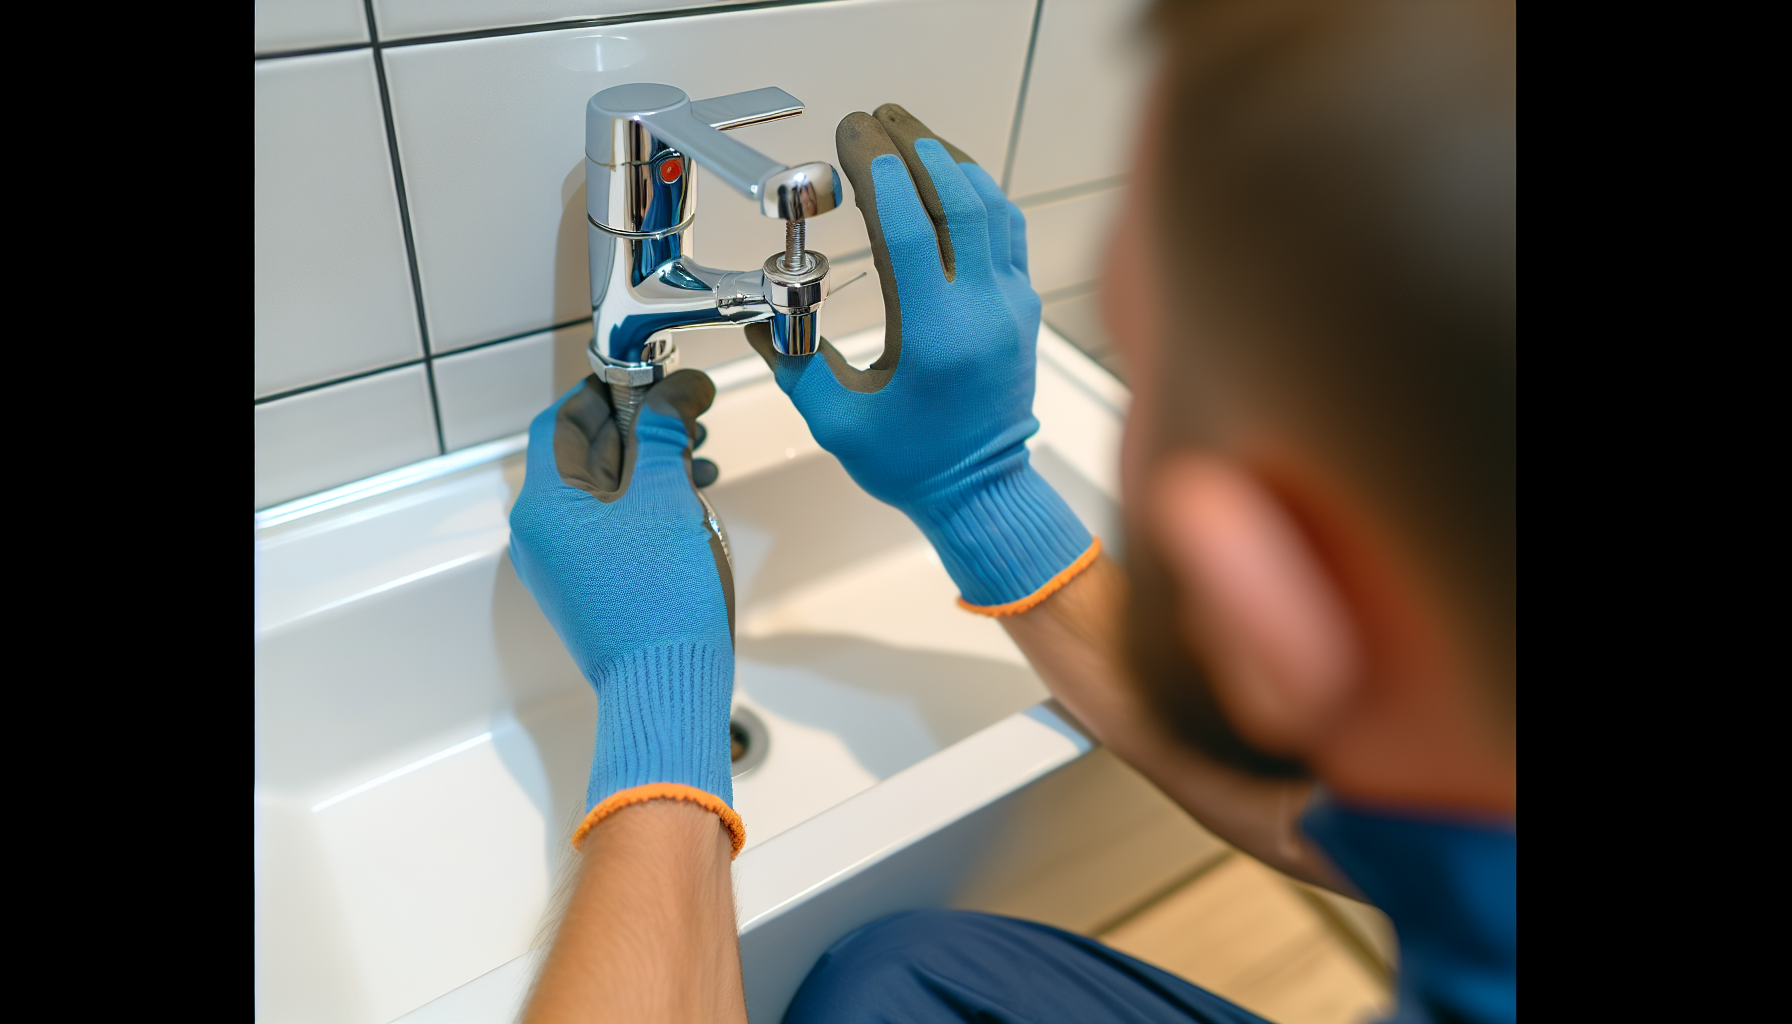
Finishing Touches: Reassembling and Testing Your Tap
With the washer replaced, you’re almost there. The next step involves reassembling your tap and checking for any leaks. Reassembling the tap should be done in reverse order of disassembly, paying attention to the placement of each component. Be careful not to over-tighten any screws to avoid causing damage.
And remember, the tap must be completely closed before turning the mains water supply back on to avoid immediate water discharge.
Reassembly Procedure
Reassembling the tap is like putting together a puzzle, with each piece fitting perfectly into its place. Reverse the disassembly steps, making sure all parts are repositioned correctly. Tighten all screws firmly but be cautious not to over-tighten to avoid causing damage to the tap components.
As an additional step, use plumber’s tape on the threads when putting the tap back together to ensure a secure, leak-free connection. And consider applying silicone or a resealing kit to the base of the tap skirt after reassembly to prevent future water ingress and leaks.
Checking for Leaks
It’s now time to put your newly repaired leaking tap to the test. After reassembling the tap, turn on the water supply slowly to prevent sudden pressure, which could induce leaks. Observe the tap immediately after the water supply is turned on to detect any immediate signs of dripping or leaking.
Check for any moisture or drips at the base and spout of the tap, indicating potential leaks at reassembly points. Last but not least, run both hot and cold water through the tap, ensuring the proper functioning and confirming the leak has been addressed.
When to Call a Professional Plumber
Though you can change a tap washer yourself, there may be instances where professional help is required. If a leak persists after changing the tap washer, or if there is a surge in water pressure or a problem with the pipes, it’s time to call a professional plumbing company. If you’re unsure of your DIY skills or worried about potential damage and insurance complications, it’s best to enlist a professional plumber. After all, professional plumbers are licensed and insured, ensuring safe and proper repairs with protections against damages. And remember, DIY plumbing without proper licensing may lead to voided home insurance and fines, so it’s always advisable to hire a professional in such cases.
Before a plumber's visit, clear the area around the leaky tap and ask about the plumber's quoting process and estimated costs. In case of urgent plumbing problems that can’t wait, contacting emergency plumbing services is necessary.
Upgrading Your Taps: Long-Term Solutions
If you’re fed up with frequent tap washer changes, it may be time to consider upgrading to more modern tapware. Taps with ceramic cartridges are designed to last a lifetime, significantly reducing the frequency of change compared to compression washers. These taps require only a small turn to operate, providing clear advantages in ease of use over traditional taps that often need to be turned multiple times.
While the initial cost of ceramic disc taps models is comparable to traditional faucets, the longer lifespan and reduced need for replacement parts can result in greater savings over time. Upgrading to taps with ceramic cartridges also simplifies maintenance as there’s no longer a need to frequently replace rubber washers or call a plumber for minor issues.
Maintenance Tips to Avoid Future Leaks
Maintaining your taps involves more than just changing your tap washer. Here are some tips to keep your taps in good condition:
-
Regularly inspect your taps for corrosion, mineral deposits, or small leaks, and observe any early signs of wear, especially under the sink.
-
Replace washers and internal components like O-rings at the first sign of wear.
-
Clean aerators and spout ends regularly to prevent blockages and maintain a watertight seal.
-
Tighten any loose nuts or fittings carefully to avoid overtightening and damaging the components.
-
If hard water is causing rapid deterioration of your tap parts, consider installing a water softener and regularly remove mineral build-up.
To extend the lifespan of your taps, follow these tips:
-
Be gentle when shutting off taps to reduce wear and tear
-
Occasionally apply lubricant to the tap’s moving parts
-
Invest in high-quality replacement parts
-
Address signs of corrosion
By following these tips, you can ensure that your dripping tap lasts longer and functions properly.
Also, monitor and possibly regulate water pressure as high pressure can stress plumbing fixtures, leading to leaks.
Summary
From understanding the role of tap washers in your plumbing to learning how to change a tap washer and maintain your taps, we’ve covered a lot of ground. Remember, changing a tap washer is a simple task that can save you money and water. But if you’re unsure or face persistent leaks, don’t hesitate to call a professional plumber. And why not consider upgrading to modern tapware for a long-term solution? With a bit of care and maintenance, you can ensure that your taps stay in top shape, saving you from the headache of leaks and drips!
Frequently Asked Questions
Are tap washers a standard size?
Tap washers are not a standard size. The size you need will depend on the tap type and its assembly. You may require large, small, or even mini versions. Commonly used sizes include 1-inch tap washer and 15mm tap washer.
How do I stop a dripping tap?
To stop a dripping tap, you should make proper repairs by replacing the body washer, o-ring, and jumper valve with new parts and then reassembling the tap. This should solve the issue of the dripping tap.
What type of washer do I need for a tap?
You will need rubber or polythene tap washers for your tap, as they come in various sizes to suit different jobs and provide a pliant seal. Nylon tap washers are also a good option for sealing tap valves closed and offer high strength.
What tools do I need to change a tap washer?
You'll need a flathead screwdriver, crescent wrench, adjustable pliers, and a replacement rubber washer to change a tap washer. These tools will help you complete the job effectively.
How do I access the tap washer?
You can access the tap washer by disassembling the tap, starting with removing the tap handle, the skirt, and the bonnet.